STALKER 2 Emission Survival Guide: How to Live Without Shelter (Exploit & Legit Methods)
If there is one thing S.T.A.L.K.E.R. 2: Heart of Chornobyl does exceptionally well, it is making you feel like the Zone genuinely hates you.
You can spend twenty minutes carefully searching a ruined building, fill your backpack with valuable artifacts and weapons, and then suddenly hear those familiar sirens. The sky turns red. The wind starts screaming. Your PDA tells you to take shelter.
Great. Except the nearest shelter is half a kilometer away, your character is carrying enough junk to open a small weapons shop, and there is a Chimera between you and safety.
That is when an Emission stops being a cool atmospheric event and becomes a full-blown survival problem.
The obvious answer is to follow the shelter marker. Usually, that’s exactly what you should do. But not every Emission catches you at a convenient moment, and some scripted encounters can leave you in areas where reaching a normal shelter is surprisingly difficult.
After experimenting with different approaches and looking at the community’s discoveries, I’ve found that surviving an Emission comes down to three things: knowing how the game’s shelter system behaves, keeping your inventory under control, and being willing to use a few rather questionable tricks when the Zone gives you no other choice.
How Emissions Actually Work in S.T.A.L.K.E.R. 2
An Emission, sometimes called a Blowout, isn’t simply a storm that can be avoided by standing underneath any roof.
This is one of the first things that can catch new players off guard.
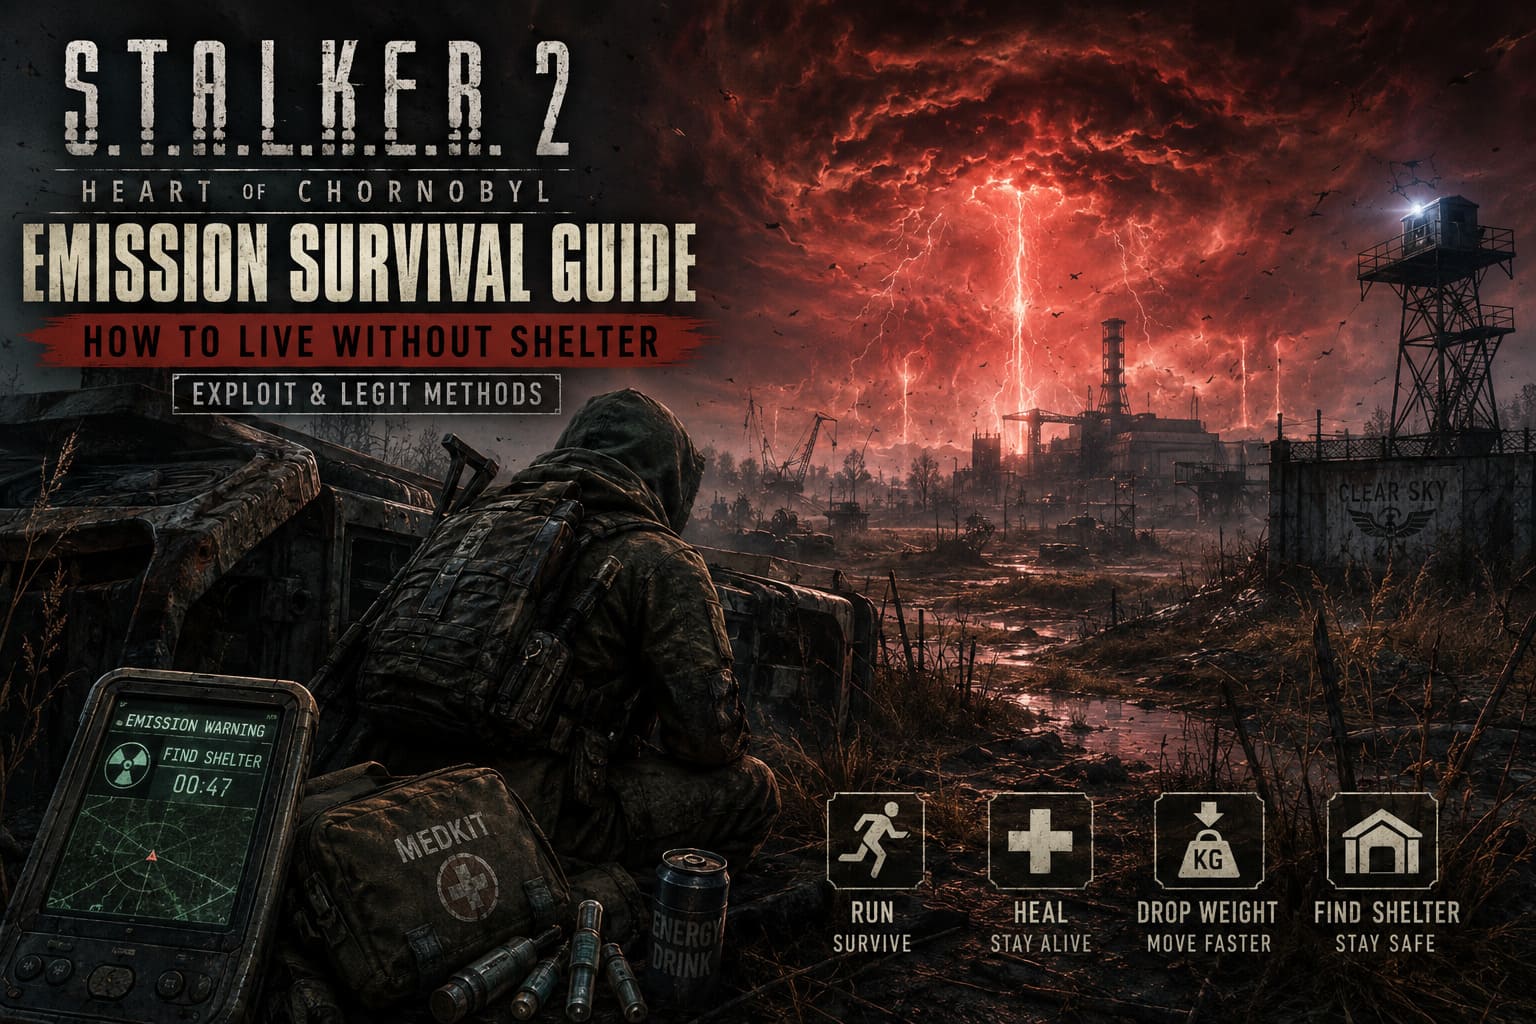
In many situations, hiding inside an ordinary building isn’t enough. The game uses specific areas that are treated as safe zones. When the warning begins, your PDA normally points toward one of these locations.
The sequence is usually easy to recognize:
- The sky begins changing color and the weather becomes increasingly violent.
- Sirens and environmental sounds signal that the Emission is approaching.
- Your PDA provides a shelter objective.
- The deadly phase begins after the warning period.
- Staying outside a valid protected area causes rapidly increasing environmental damage.
This is why randomly jumping into the nearest shack can be a terrible idea. I’ve personally found that the safest approach is to treat the PDA marker as more trustworthy than the physical appearance of a building.
A huge concrete structure doesn’t necessarily mean you’re safe.
A tiny bunker absolutely can.
| Situation | Best Response | Risk |
|---|---|---|
| Normal Emission | Follow the PDA shelter marker | Low |
| Over-encumbered | Drop heavy loot and sprint | Medium |
| Open-field Emission | Use healing and emergency tricks | Very High |
| Scripted Swamp event | Run directly to the known safe area | High |
| Nearly dead when warning begins | Manual save/reload attempt | Extreme |
Method #1: Don’t Trust Every Roof — Look for Weird Cover
This is where things get interesting.
The community has discovered situations where unusual pieces of map geometry can behave differently from what you would expect. Certain objects, corners and recessed areas may interact with the game’s environmental protection checks in unexpected ways.
I’m talking about things like overturned vehicles, drainage structures, small concrete recesses and awkward pieces of industrial geometry.
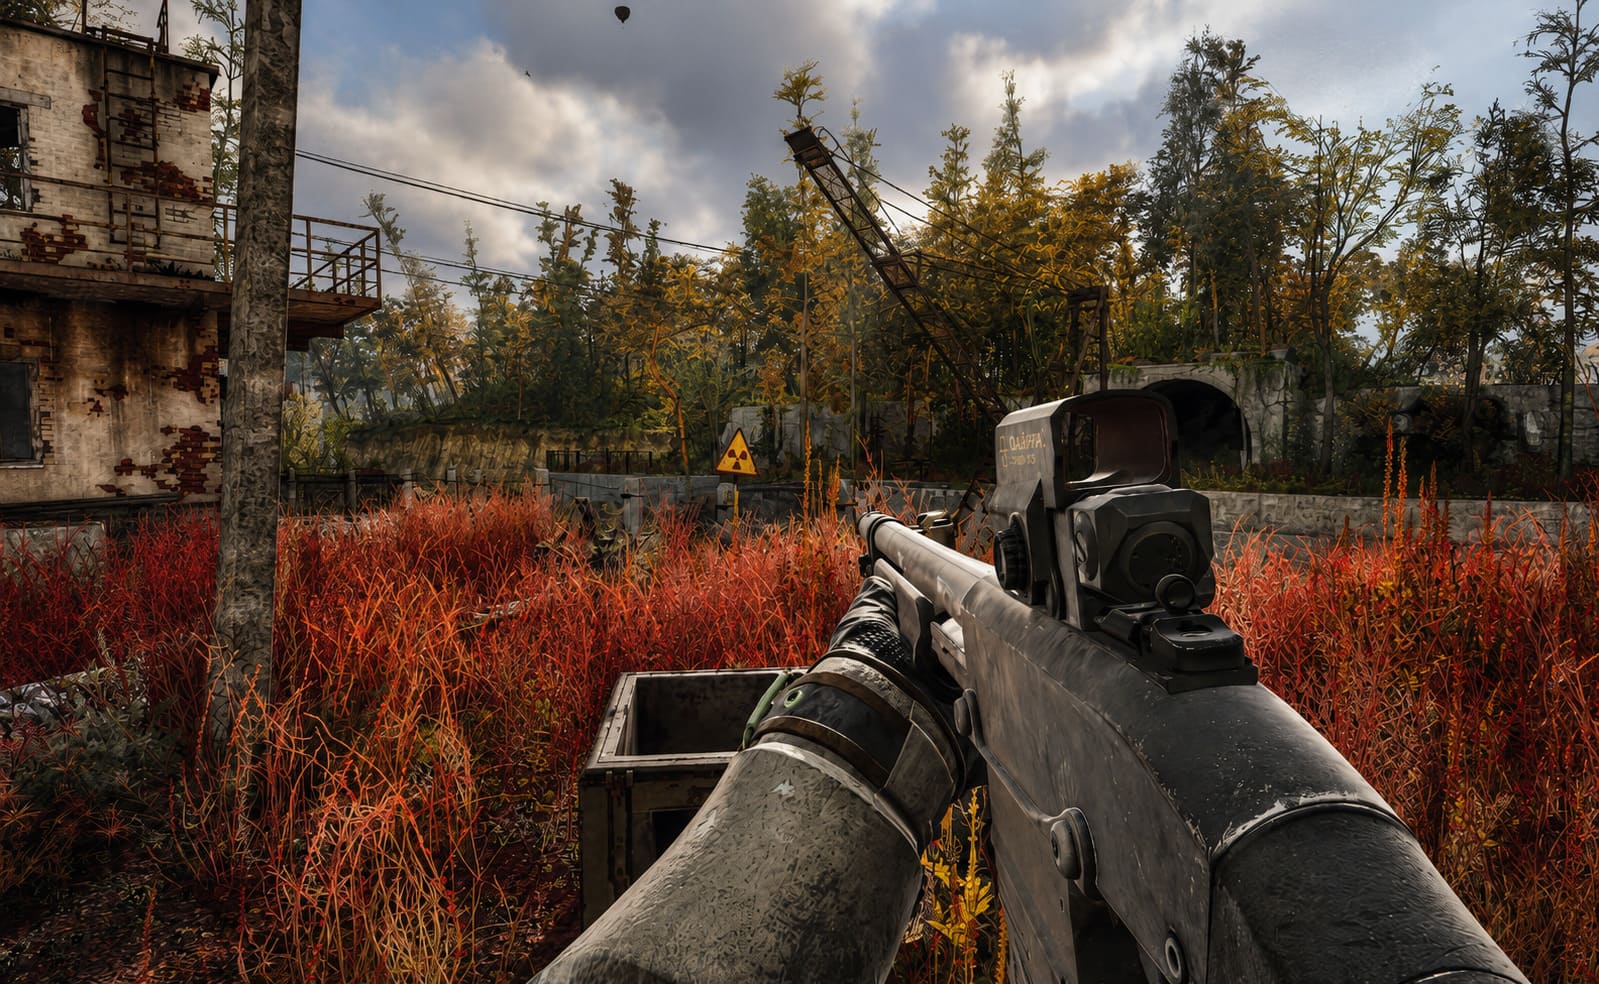
This isn’t something I’d build my entire survival strategy around. It can be inconsistent, especially after patches. But when you’re already caught in the middle of nowhere, testing nearby geometry can be worth a few seconds.
The trick is to look for areas where your character can get physically tucked into the environment.
Try:
- The space beneath overturned heavy vehicles.
- Deep corners around concrete structures.
- Drainage pipes and recessed terrain.
- Tight spaces between large industrial objects.
- Small structures that appear to have unusually thick collision geometry.
If the game suddenly treats your position as protected, you’ve essentially found an unofficial shelter.
The important part is that this should be treated as an emergency exploit rather than a guaranteed mechanic. Don’t assume every truck, shack or metal roof will save you.
Method #2: Turn Your Medkits Into an Emergency Lifeline
This is probably my favorite desperate option because it feels exactly like the kind of ridiculous decision a STALKER would make.
If you are already outside and there is genuinely no shelter within reach, you can try to survive by aggressively managing your healing resources.
Your inventory should ideally contain a serious supply of medical items before attempting this. You don’t want to discover that you have two medkits left when the Zone starts eating your health bar.
Emergency Inventory
- 15–20 Medkits if you expect to brute-force an entire Emission.
- Anti-radiation or protection consumables where available.
- Several Energy Drinks for maintaining mobility.
- Enough stamina management to reach shelter if the healing strategy fails.
The most important step is actually something completely different: drop unnecessary weight immediately.
A backpack full of weapons isn’t useful if you can’t run.
If you’re heavily overloaded, throw down low-value weapons, ammunition and junk. Mark the location on your PDA first, because there’s nothing worse than surviving an Emission only to forget where you dropped half your inventory.
Once the storm reaches its dangerous phase, keep a close eye on your health.
Don’t wait until you’re nearly dead before healing.
Use your strongest available medical supplies when your health starts falling significantly and keep moving toward legitimate shelter whenever possible.
There is an important caveat here: I would not rely on claims that healing always outpaces Emission damage. Patch behavior, difficulty settings and the exact damage interaction can change how effective this strategy is. Think of it as buying yourself time, not becoming immune.
The Most Important Trick: Don’t Fight During the Warning
This sounds obvious until you’re actually standing next to a hostile mutant with a full backpack.
One of the worst mistakes you can make during an incoming Emission is deciding that you have enough time to finish a fight.
You probably don’t.
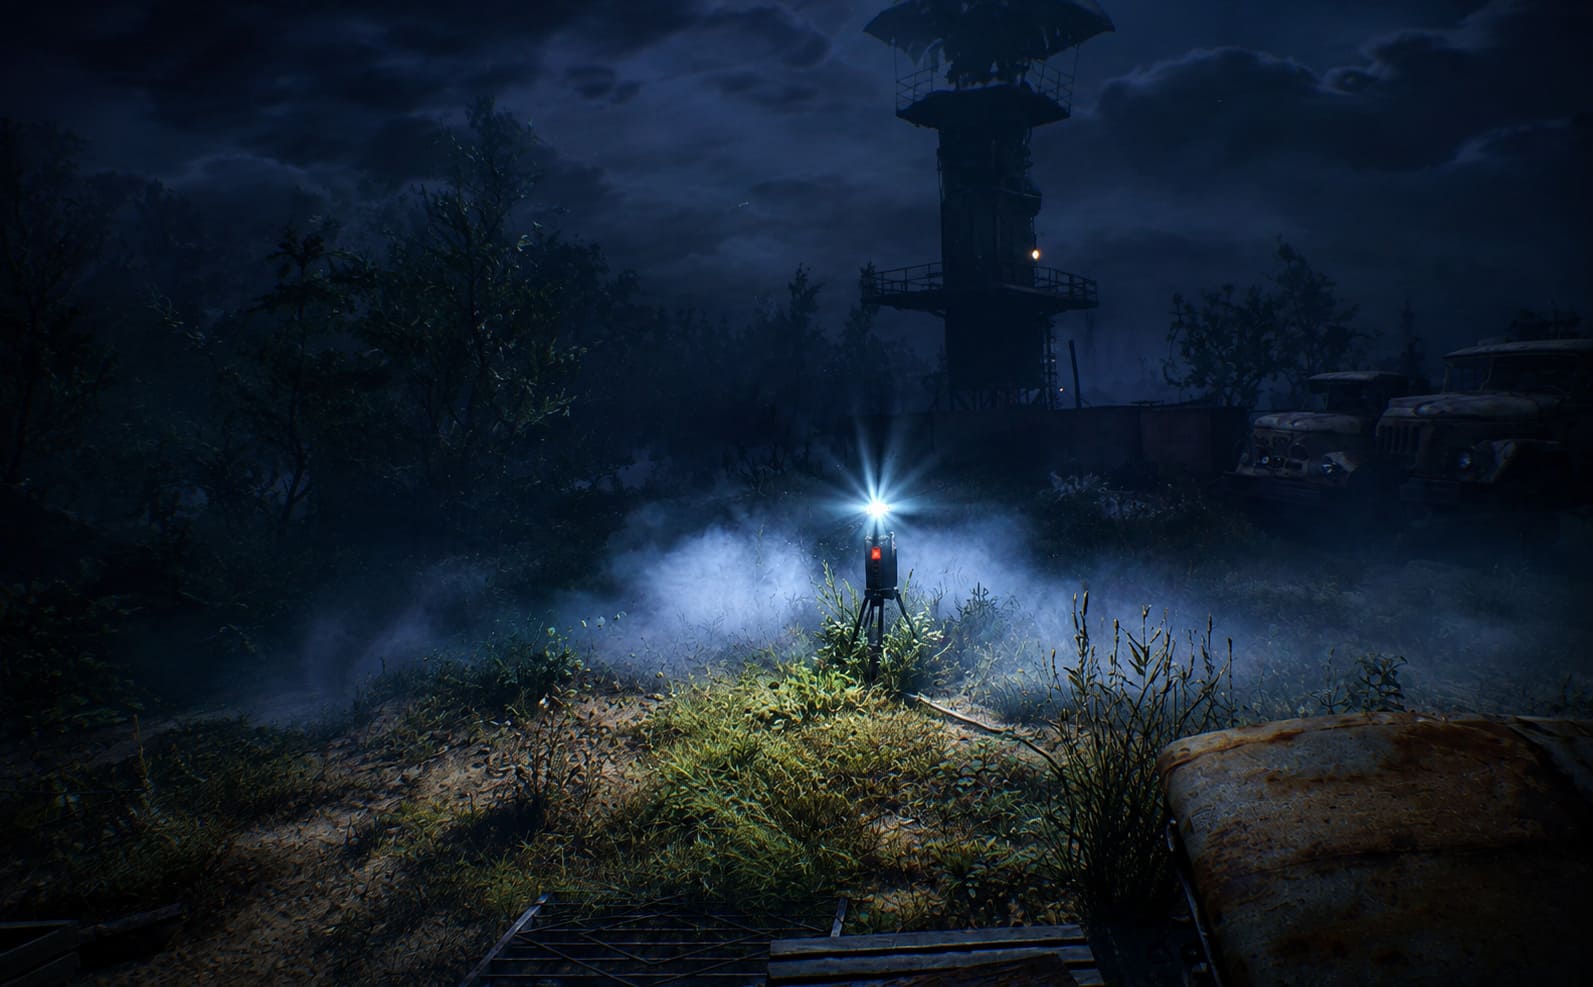
Your goal is survival, not clearing the area.
If a Chimera, Pseudogiant or group of hostile NPCs is between you and safety, running is often the better tactical decision.
Ammo is replaceable.
Medical supplies are replaceable.
Your life isn’t.
This becomes especially important during scripted sequences where the game deliberately throws enemies at you immediately before or during an Emission.
Surviving the Swamps: The Warren Run
The Swamps are one of the nastiest places to deal with an Emission because movement itself can become a problem.
During the “Ad Astra Per Aspera” sequence, players can encounter a particularly stressful situation involving a Chimera and an incoming Emission. Trying to stand and fight can turn into a disaster very quickly.
My advice here is simple:
Don’t be a hero. Run.
As soon as the situation starts escalating, use an Energy Drink if necessary and prioritize movement over combat.
Instead of wasting ammunition fighting the Chimera, head toward the Clear Sky base.
The terrain matters here. Deep water can slow you down badly, so stick to the more reliable dry paths whenever possible.
The goal is to reach the underground bunker associated with the Clear Sky area. Once you’re inside the properly protected section, the Emission becomes someone else’s problem.
This is one of those moments where S.T.A.L.K.E.R. 2 rewards knowledge far more than firepower.
The first time, you panic.
The second time, you know exactly where you’re going.
Method #3: The Save-and-Reload Trick
There is another option that I consider more of a game-state workaround than a legitimate survival technique.
If an ambient Emission is just beginning and you are nowhere near a shelter, make a manual save.
The important part is doing it early, before the situation becomes completely lethal.
Then reload that save.
Because environmental events and weather behavior can interact differently with saved states, reloading at the beginning of an event may sometimes alter the timing or give you another opportunity to move.
I wouldn’t treat this as a guaranteed exploit.
It isn’t.
But if you’re carrying an hour’s worth of valuable loot and the alternative is watching your character die in an open field, there’s little reason not to try.
Manual saves are one of your best survival tools in the Zone.
Just don’t rely exclusively on quicksaves when you’re already in a dangerous situation.
What About Your Weapons and Armor?
This is the part that hurts almost as much as the Emission itself.
Even if you survive, environmental hazards can leave your equipment in terrible condition.
That’s why I recommend thinking about your gear before you start experimenting with open-air survival.
If you’re carrying a collection of heavily damaged weapons already, surviving an Emission may leave you facing an ugly repair bill afterward.
Technicians in settlements can restore your equipment, but repairs can become expensive very quickly.
So if you’re planning a long expedition:
Don’t enter the wilderness with every piece of equipment already sitting at terrible durability.
It is much easier to survive a disaster when your gear isn’t one bullet away from falling apart.
STALKER 2 Secret Ending Guide: How to Unlock the Secret Kaimanov Ending in Pripyat
My Preferred Emission Strategy
After looking at all these methods, I wouldn’t actually recommend trying to become an expert at surviving Emissions in the open.
The best “exploit” is still getting to a real shelter before the storm reaches its lethal phase.
My priority order would be:
- Follow the PDA shelter marker.
- Drop heavy junk if you’re overloaded.
- Use Energy Drinks to maintain sprinting.
- Ignore mutants and unnecessary fights.
- If trapped, investigate unusual terrain or map geometry.
- Use Medkits to buy additional time.
- If an event is just beginning, consider a manual save and reload.
- Once safe, repair your equipment and recover your dropped loot.
That approach is much more reliable than gambling your entire inventory on an obscure collision exploit.
STALKER 2 Faction Guide: Ward vs. Freedom Choice and Rewards Explained
Final Verdict: Can You Survive an Emission Without Shelter?
Yes — sometimes.
But there is a big difference between surviving an Emission and having a reliable method that works every single time.
The shelter system in S.T.A.L.K.E.R. 2 is intentionally unforgiving. The game wants you to respect the warning and immediately search for protection. When you start deliberately fighting the system, you’re entering exploit territory, and those tricks can become unreliable after updates.
Still, knowing these emergency techniques can save a run.
The biggest lesson I’ve learned is that panic kills you faster than the Emission itself. The moment the sky turns red, stop looting. Stop fighting. Stop trying to squeeze in “one more thing.”
Drop the heavy junk.
Drink the Energy Drink.
Open the PDA.
Run.
And if the Zone decides that your shelter marker is half a kilometer away while a Chimera is standing between you and it, at least now you have a few dirty tricks to fall back on.
Because in S.T.A.L.K.E.R. 2: Heart of Chornobyl, sometimes surviving isn’t about having the best weapon.
Sometimes it’s simply knowing when to run like hell.