Ready or Not: All Gods Burn Guide – How to Beat the Boiling Point Bank Siege (S-Rank Strategy)
The world of Ready or Not continues to push the boundaries of tactical shooters, and with the release of the “Boiling Point” DLC in 2026, things have gotten even more intense. The new mission, All Gods Burn, takes players deep into the heart of a collapsing city, where a paramilitary group known as Black Sentinel has taken over the UnityTrust Banc of Los Sueños. This bank isn’t just a vault of money—it’s a fortress loaded with traps, hostages, and a deadly enemy. If you’re aiming for an S-Rank, or maybe you’re playing on Ironman mode, then buckle up. This guide has everything you need to clear All Gods Burn with finesse and precision. Let’s dive in!
Understanding the Context: UnityTrust and Black Sentinel
Los Sueños, a city ravaged by economic collapse and civil unrest, is on the brink of total chaos. The UnityTrust Bank, which was once the heart of the city’s financial empire, has been hijacked by Black Sentinel, a ruthless paramilitary group. But their mission isn’t about theft—it’s about destruction. They’re here to wipe out the digital and physical assets of the city’s elite, plunging it further into crisis.
As D-Platoon, you’ve been tasked with neutralizing Black Sentinel, rescuing civilians, and securing the building. The real kicker? You’ve got to do it with minimal force and zero collateral damage. Let’s go over the key objectives:
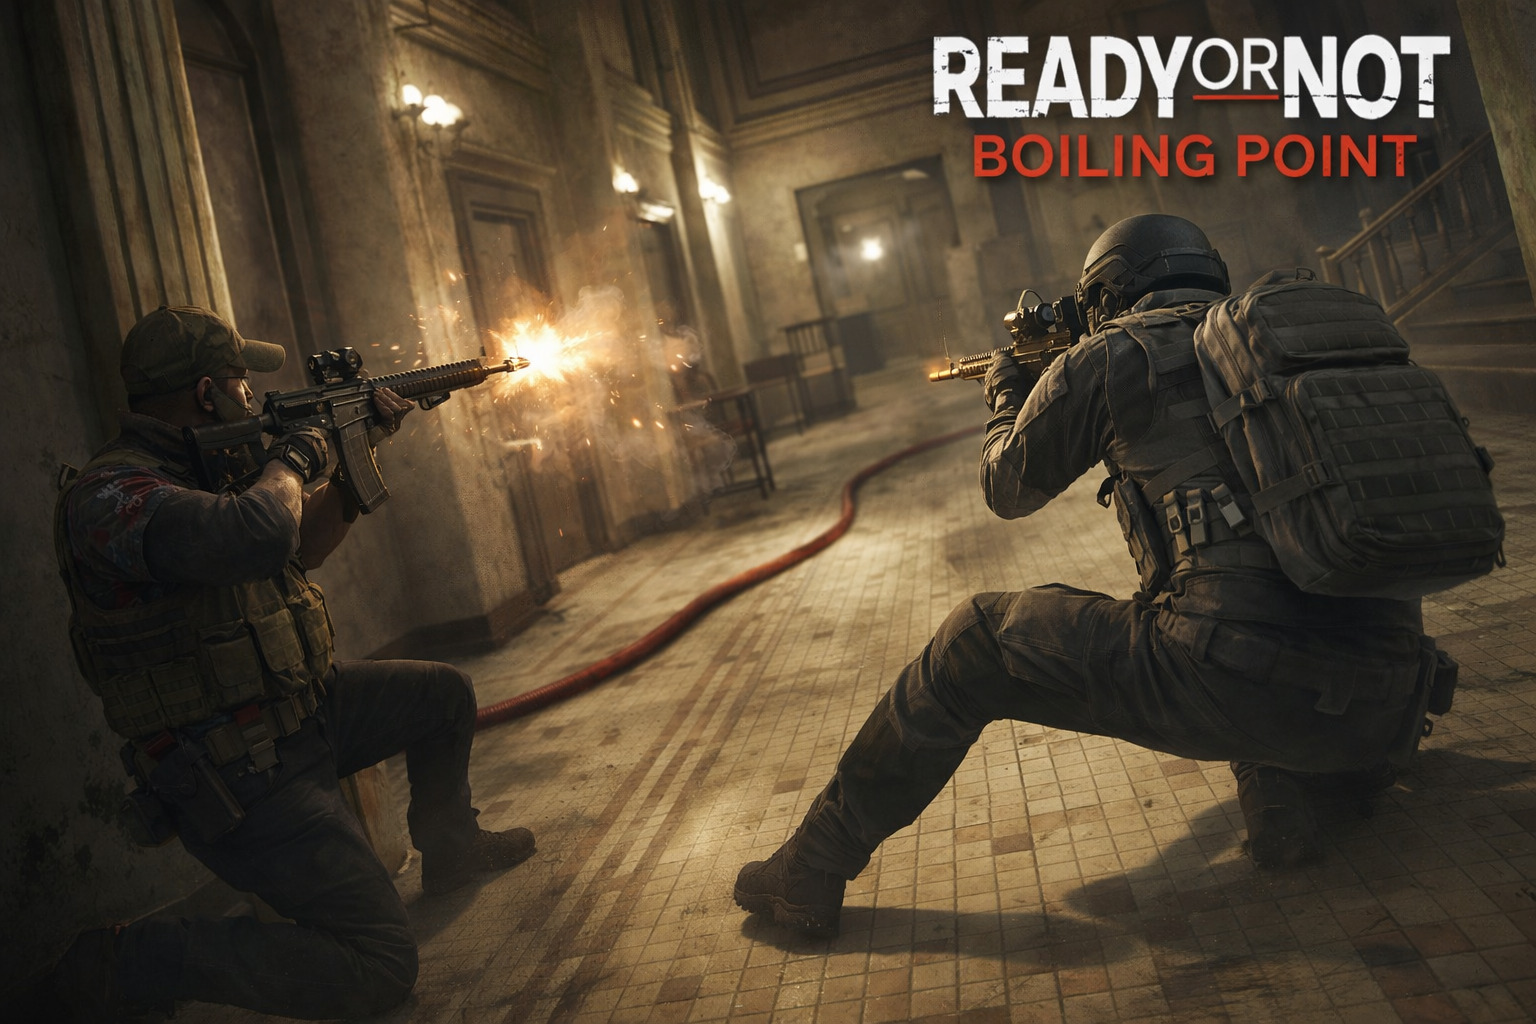
- Neutralize All Suspects: You’ll face around 15-20 well-armed combatants.
- Rescue All Civilians: 10+ civilians are scattered throughout the building, and they’re often in harm’s way.
- Secure the Building: Clear every single floor, including the sub-basement and rooftop.
- Soft Objectives:
- Locate the Bomb Clusters: Four of them rigged to the building’s structural pillars.
- Secure the Suspicious Laptop: Found in the high-security executive wing.
Now that we’ve got the stakes, let’s talk strategy.
Ready or Not Boiling Point DLC Guide: All New Weapons & Update 1.4.1 Changes
Essential Loadout for S-Rank Completion (Boiling Point Patch 1.4.1 Meta)
The latest patch has fine-tuned AI behavior, meaning the enemies in All Gods Burn aren’t just good—they’re brutal. The Aggressive Flanking tactics will keep you on your toes, and with Black Sentinel regularly wearing gas masks, your standard weapons might not be as effective as before. For S-Rank runs, less-lethal force is a must. Here’s the go-to loadout:
Primary Weapon: VKS Pepperball Rifle
The VKS is still your best bet for non-lethal crowd control. In Boiling Point, however, suspects often wear gas masks, which can make aiming for the head a bit tricky. Aim for the legs or lower torso to ensure you trigger a stumble animation, especially if they’re masked.
Secondary Weapon: S2011 “Vigilante” (Beanbag/Stun)
When you run out of Pepperball ammo, don’t panic! The S2011 will save your life. Its high-capacity and versatility (Beanbag/Stun) make it ideal for close quarters and tight spaces.
Tactical Gear: Gas Mask & Heavy Ceramic Armor
You won’t survive without a Gas Mask. The bank’s notorious for its CS gas traps, which can disorient your squad. Additionally, you’ll need Heavy Ceramic Armor to survive the initial fire from suspects wielding RTWC-6.5 rifles.
Grenades: 9-Bang vs. CS Gas
The architecture of the UnityTrust Bank makes standard flashbangs a bit of a dud. Instead, bring along 9-Bang grenades for the large open spaces like the lobby and CS Gas for the tighter offices. The 9-Bang will make it harder for enemies to regroup, while CS Gas will clear out smaller, more confined areas.
Tactical Walkthrough: Step-by-Step Strategy
With your loadout ready, it’s time to execute a flawless strategy. Here’s a breakdown of the key phases:
Phase 1: The Lobby (The Kill Zone)
The lobby is a deathtrap. Long sightlines and glass partitions make it a sniper’s paradise, so avoid the main entrance at all costs.
Strategy: Use the side service entrance to avoid immediate engagement. As soon as you breach the lobby, throw down a Smoke Grenade to obscure the suspects’ vision. This allows your team to get to cover behind the teller counters.
Watch out for: The hidden Tripwire behind the security desk. Triggering this sets off a flash charge that alerts all suspects on the first floor.
Phase 2: The Executive Offices (Second Floor)
This floor is a maze of cubicles, meeting rooms, and some very jumpy civilians.
Room Clearing: Use the Optiwand to check every door before breaching. If you spot any suspects holding hostages, breach with a C2 Charge and follow up with a Stinger Grenade. The stun effect often forces the suspects to surrender immediately.
Laptop: The suspicious laptop is likely in the CEO’s office (the corner room with mahogany doors). Secure this laptop quickly, especially if you’re playing on Hardcore difficulty, to prevent the “Data Erasure” timer from ticking down.
Phase 3: Sub-Basement and Vault
This area is cramped and dark. Switch to White Phosphor NVGs or high-intensity flashlights to navigate.
Bomb Clusters: Two of the four bomb clusters are located in the sub-basement, typically attached to server racks. Disable them as soon as you find them to ensure mission success.
Heavy Suspects: Expect 2-3 Heavy suspects wearing full ballistic armor. Pepperballs won’t work on them, so use Tasers or Beanbag Shotgun rounds for a quick takedown.
Unlocking the “All Secrets Safe” Achievement
For the achievement hunters, there’s a hidden Easter egg here. To unlock the “All Secrets Safe” achievement, you need to access the Main Vault without using explosives. It’s a challenge that requires sharp attention to detail:
- Find the Keycard: It’s randomly spawned on one of the dead security guards on the first floor.
- Admin Code: Head to the IT Server Room and check the whiteboard. The 4-digit code changes with every session.
- Vault Interaction: Go to the vault keypad, enter the code, swipe the card, and enter.
- The Phone Call: Inside, answer the red telephone. You’ll hear a cryptic message from Black Sentinel’s leader, and voila, the achievement unlocks.

Common Pitfalls to Avoid
- The Pillars: Be wary of quick-peeks behind the structural pillars in the lobby. Keep your crosshairs at head level when approaching corners to avoid getting surprised.
- Civilian RNG: Civilians have a tendency to run toward the gunfire. Early on, use the “Search and Secure” command for your AI teammates to safely extract them out of harm’s way.
- Signal Jammer: If your HUD starts flickering, there’s a Signal Jammer nearby (usually on the 3rd floor). Destroy it to restore your team view.
Final Thoughts: A Tactical Masterpiece
All Gods Burn is not just another mission—it’s a psychological experience. The tension, the eerie sound design of muffled sirens and unanswered office phones, creates an atmosphere of constant dread. You’re not just playing against a group of enemies; you’re playing against your own nerves.
To beat this mission with an S-Rank, you’ll need more than just superior gunplay. You need to be methodical, patient, and tactical. Every choice matters, from which entrance you breach to how you handle the bomb clusters. It’s an experience that will test every fiber of your tactical mind.
Quick Summary for Success
| Category | Recommendation |
|---|---|
| Best Entry Point | Side Service Entrance |
| Crucial Tool | Optiwand & Gas Mask |
| Main Threat | Black Sentinel Heavies (Ballistic Armor) |
| S-Rank Key | 9-Bang Grenades & Beanbag Shotguns |
| Hidden Task | Disable 4 Bomb Clusters |
By following this guide, you’ll have the best chance of succeeding in the Boiling Point Bank Siege. Happy hunting, and remember, it’s not just about finishing the mission—it’s about doing it the right way.