Star Wars Zero Company Combat Guide: XCOM Tactical Tutorial and Essential Tips
Star Wars Zero Company immediately caught my attention because it looks like the kind of Star Wars game that understands what makes tactical strategy so addictive. Instead of throwing hundreds of units onto a battlefield, it puts the focus on a small squad, meaningful decisions, dangerous positioning, and those moments when one bad move can turn a winning mission into a complete disaster.
Developed by Bit Reactor in collaboration with Respawn Entertainment and Lucasfilm Games, the game combines the familiar tactical structure of XCOM with the personality, characters, planets, and cinematic atmosphere of Star Wars. You play as Hawks, a former Republic officer who commands the mercenary outfit known as Zero Company. The main objective is to track down the mysterious Fathom while investigating the Infinite Coil and the terrifying Shadow Plague threatening the galaxy.
After looking at the combat systems and the way the game approaches squad management, I think the most important thing for new players is to stop thinking of it as simply “XCOM with lightsabers.” Zero Company has its own rhythm. Action Points, Defense, Overwatch, squad bonds, environmental hazards, and the shared Advantage system all encourage a much more deliberate style of play.
If you like tactical games where every turn feels like a small puzzle, there is a lot to appreciate here.
Why Star Wars Zero Company Feels Different From XCOM
The comparison with XCOM is unavoidable, and honestly, I think that is a good thing. The game clearly borrows the basic language of modern tactical strategy: grid-based movement, cover, hit percentages, flanking, overwatch, specialized classes, injuries, and the possibility of losing valuable squad members.
But the developers have made some important changes.
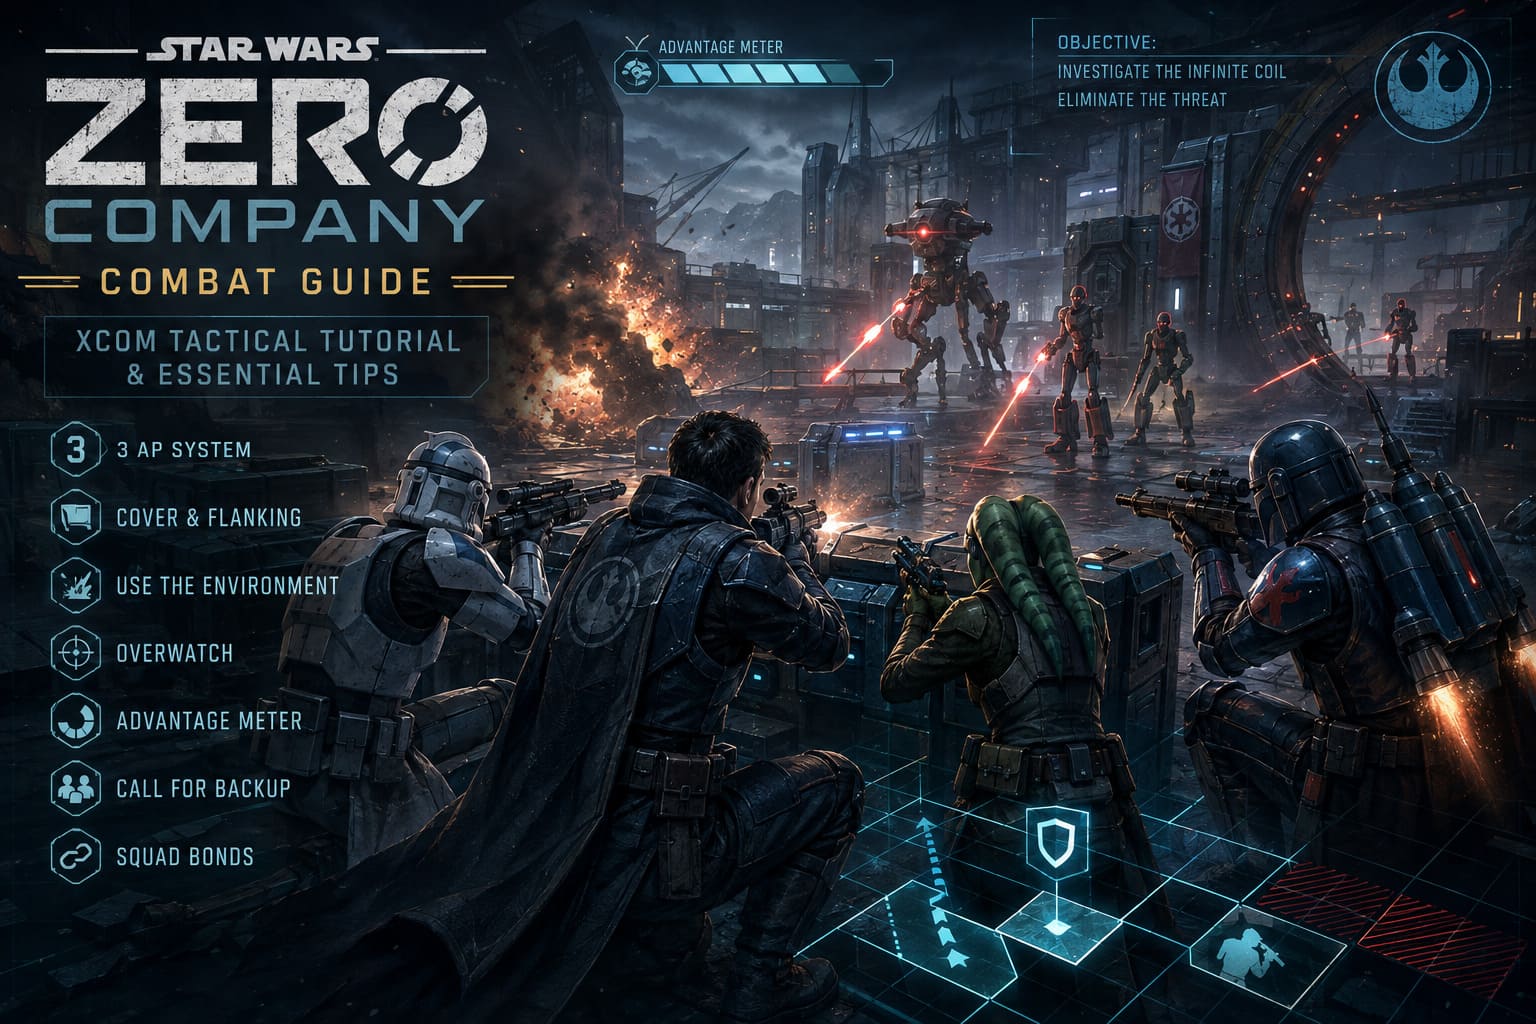
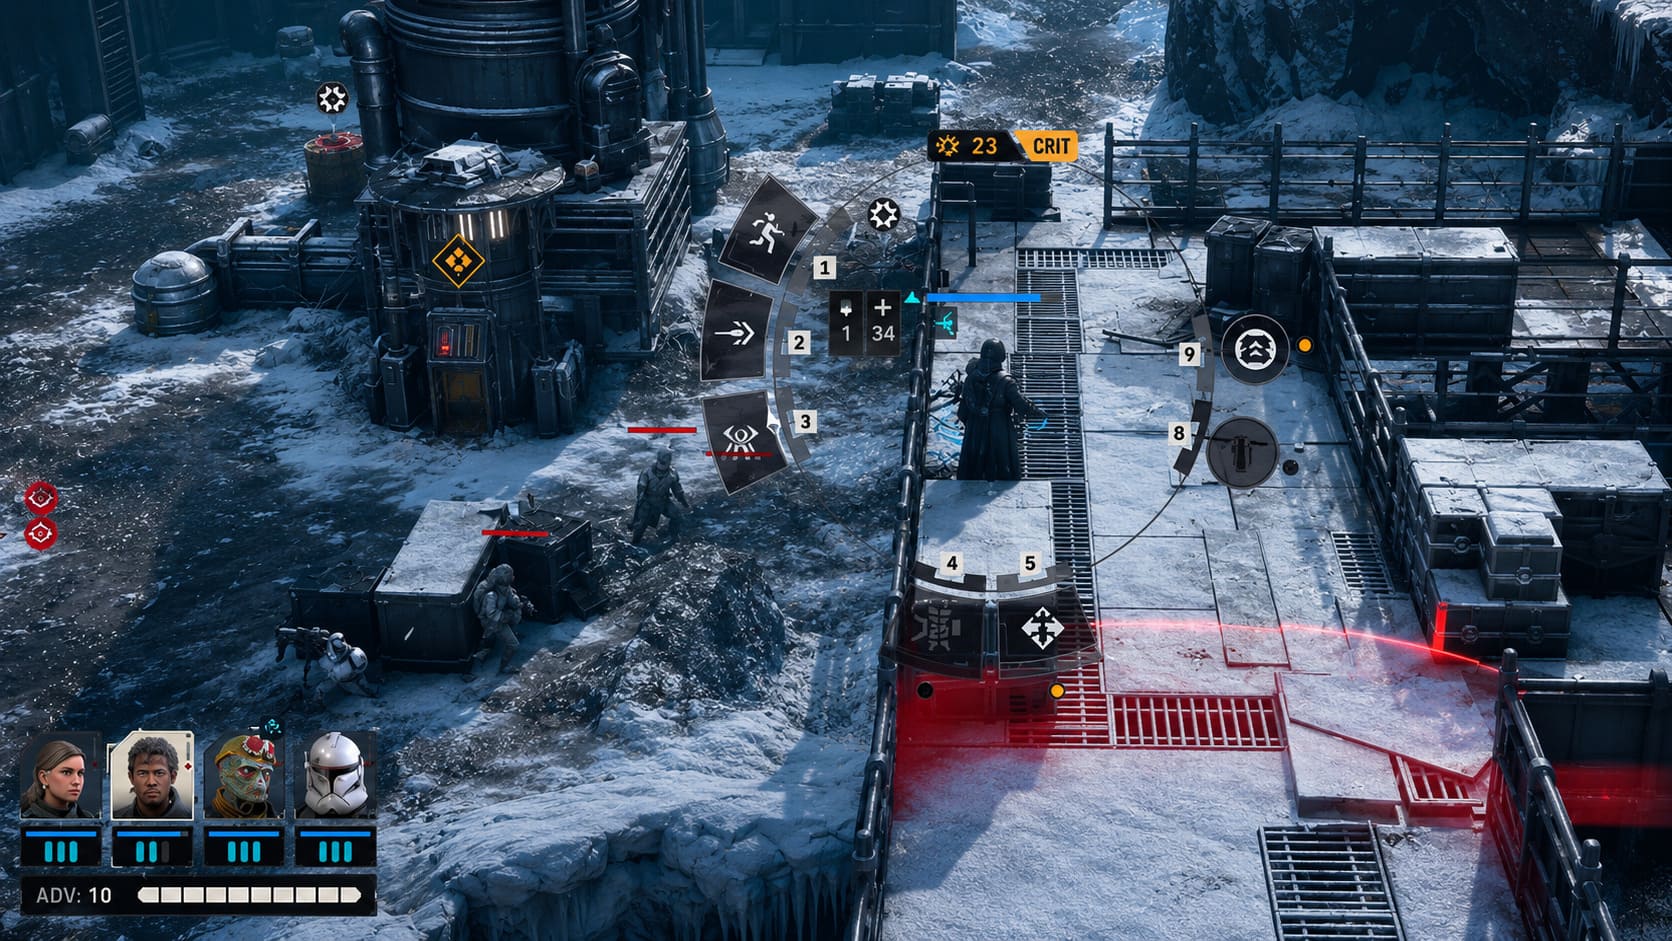
The biggest one is the three-Action Point system. Rather than having movement and attacks separated into rigid categories, Zero Company gives each operative three AP that can be spent however you want.
That sounds like a small change, but it completely changes how you approach a turn.
An operator can move one space, attack, and then move back into cover. Another character might spend all three points repositioning to reach a critical flank. You can also combine movement and abilities in ways that make combat feel much less restrictive than traditional turn-based systems.
For me, this is one of the most interesting parts of the combat design because it rewards players who think about the entire turn rather than simply asking, “Can I shoot this enemy?”
Understanding the Three AP System
Every operative starts the team’s turn with three Action Points. Those points are essentially your currency for movement, attacks, abilities, and other actions.
| Action | Typical AP Cost | Tactical Purpose |
|---|---|---|
| Move | 1 AP | Reposition or reach cover |
| Basic Attack | 1 AP | Damage an enemy |
| Additional Movement | 1 AP | Flank or retreat |
| Heavy Ability | Multiple AP | Powerful specialized action |
| Overwatch | Remaining AP | Prepare a reaction attack |
The real trick is not spending all three points as quickly as possible. Good AP management means ending the turn in a better position than where you started.
If you use all three points simply to reach an enemy, you may technically have accomplished something, but you could also be standing in the open when the enemy turn begins.
One of my favorite tactical ideas here is the simple shoot-and-retreat pattern. Move into a firing position, take the shot, and use your final AP to get back behind solid cover. It is much safer than committing an entire character to an exposed position.
Cover Is Your Best Friend
If you have played XCOM, you already know how important cover is. In Zero Company, however, I would argue that understanding the relationship between Cover, Defense, and Flanking is even more important.
Cover affects the probability of being hit, while Defense can reduce the actual damage you take. That means simply landing an attack isn’t always enough.
Imagine an elite enemy with a Defense rating of four. Even if you successfully hit that enemy, the attack can lose four points of damage because of the Defense value.
This makes certain enemies extremely inefficient targets for ordinary blaster fire.
Instead of wasting multiple attacks, look for ways to remove their defensive advantages.
Grenades, fire-based attacks, explosives, and environmental destruction can become much more valuable than another standard attack when dealing with heavily protected opponents.
And then there is flanking.
Getting around an enemy’s cover can dramatically increase your offensive potential and create opportunities for critical hits. Because the maps include destructible environments and vertical elements, the battlefield itself becomes another weapon.
Don’t just look at enemies.
Look at the walls, platforms, corners, ledges, and objects around them.
Sometimes the best attack isn’t a weapon at all.
Use the Environment Like a Weapon
This is one of the areas where I think Star Wars Zero Company could really shine.
The Star Wars universe is full of abilities that naturally interact with the environment. Jedi can use the Force, explosives can destroy cover, and certain melee abilities can push enemies into dangerous positions.
If an enemy is standing near a ledge, for example, a Force Push, knockback ability, or concussion grenade may eliminate them without requiring you to burn through their entire health bar.
Environmental kills are especially valuable because they can save ammunition, AP, and potentially prevent a dangerous enemy from getting another turn.
My advice is simple: before attacking, scan the battlefield for opportunities to make the map do the work for you.
Overwatch Is More Than a Defensive Button
Overwatch is another familiar mechanic, but Zero Company gives it a more flexible tactical role.
Instead of simply putting a character into a generic reaction state, you can define a specific cone of vision that the operative will monitor.
That makes positioning extremely important.
You can place a clone trooper at the end of a corridor, set the desired Overwatch zone, and wait for enemies to cross the firing line. But the really interesting combinations happen when you coordinate Overwatch with other squad abilities.
For example, imagine an enemy hiding safely behind cover. A Jedi can use Force Push to move that enemy into an exposed position. A nearby scoundrel can also use a knockback effect to accomplish something similar.
If another teammate is already covering that location with Overwatch, the enemy can effectively be pushed straight into a prepared attack.
That is exactly the kind of interaction I want from a tactical Star Wars game.
Don’t Waste the Shared Advantage Meter
Zero Company also gives the entire squad a shared resource called the Advantage Meter.
Advantage is generated through successful attacks, critical hits, and accomplishing tactical objectives. Instead of belonging to one specific character, it becomes a team-wide resource that can be spent on powerful abilities.
This creates an interesting decision: Do you spend Advantage now, or save it for something more dangerous later?
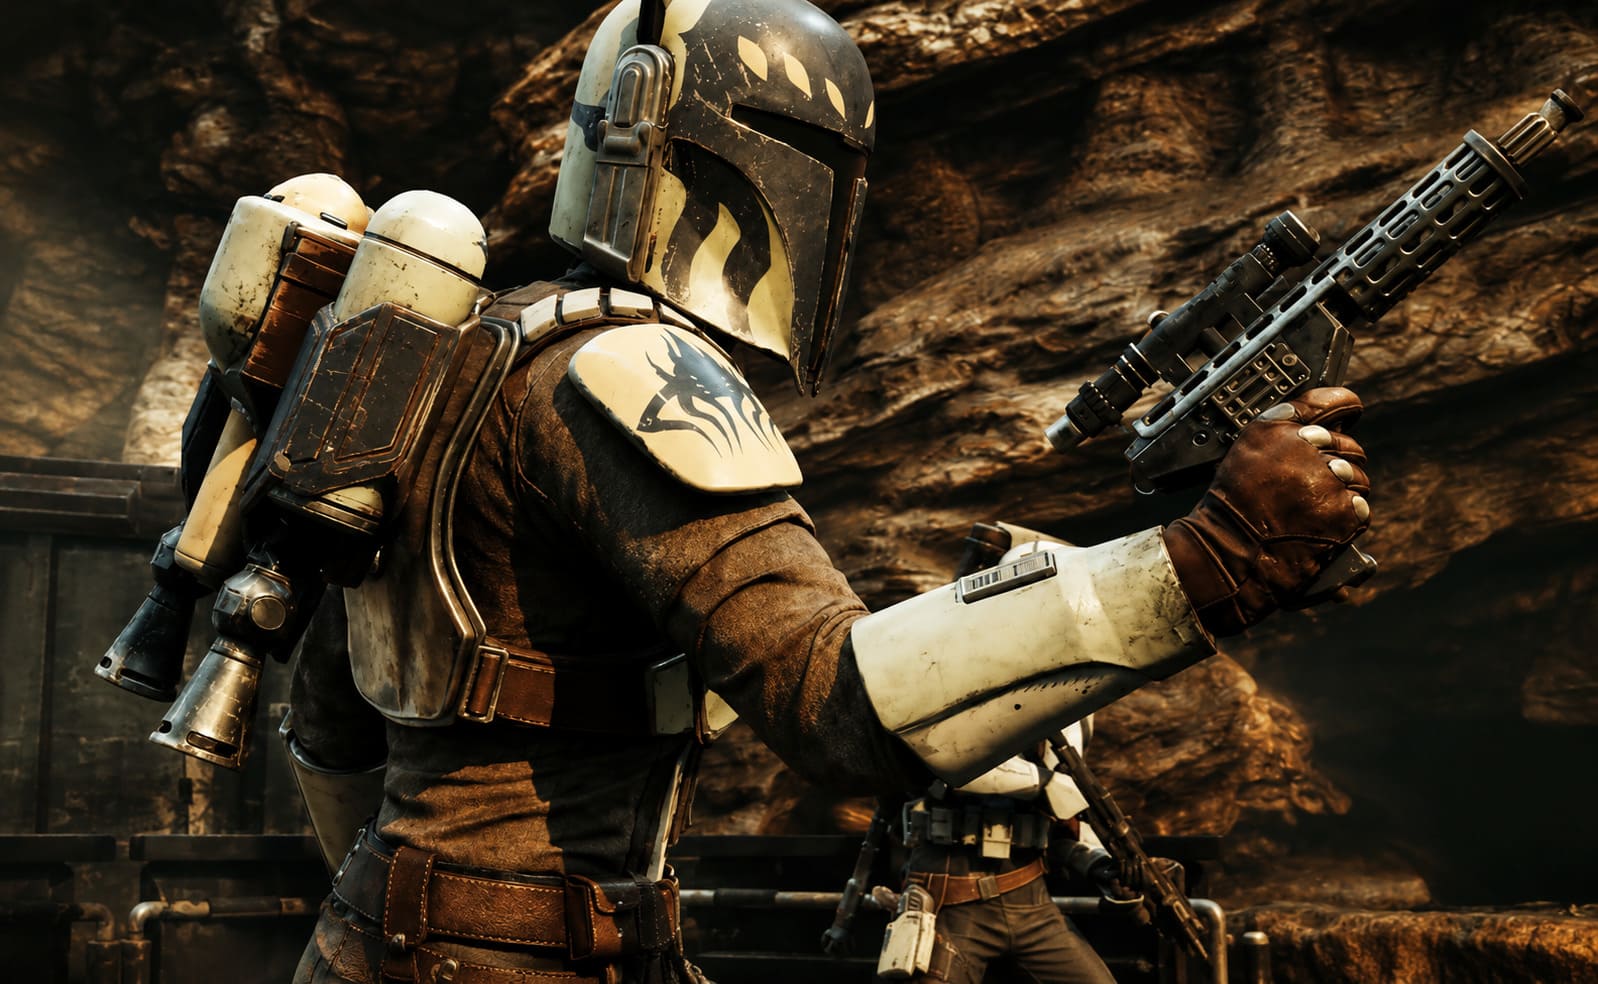
A Mandalorian, for example, can use the resource for devastating attacks involving rockets or jetpack weaponry. Jedi characters can also convert the shared resource into powerful Force-based abilities.
Against weaker enemies, I would be careful about burning through the entire meter. Against bosses, elite units, or difficult encounters, however, saving Advantage can give your squad the burst damage needed to completely change the battle.
Think of it as your team’s emergency fund.
You don’t want to spend everything just because you can.
Call for Backup Can Change a Fight
One of the more interesting squad mechanics is Call for Backup, which costs 0 AP.
That is incredibly useful because it effectively allows another teammate to participate in a combined attack without consuming their normal action economy.
The important limitation is line of sight.
Before planning the attack, check which squad members are actually available to assist. The interface indicates potential helpers, while characters without the necessary angle will be marked with a No Line of Sight warning.
This means positioning your squad isn’t just about keeping everyone alive. You also want teammates positioned so they can support one another.
Even better, successful cooperative attacks help develop the permanent Bond between characters.
Squad Bonds Are Worth Building
Bonds are one of those systems that could easily be ignored by new players, but I would strongly recommend paying attention to them.
When two characters repeatedly fight together and perform cooperative actions, their relationship improves. Stronger bonds can unlock passive benefits, stat improvements, and additional support abilities.
In other words, your favorite duo can become more effective simply because they spend more time fighting together.
This creates an excellent reason not to constantly shuffle your entire roster.
At the same time, you should not become too dependent on only two or three characters because of the game’s injury and permadeath mechanics.
And that brings us to one of the most important lessons in the entire game.
Permadeath Changes Everything
Every tactical mission allows you to deploy four operators, and your roster can include both story characters and custom recruits.
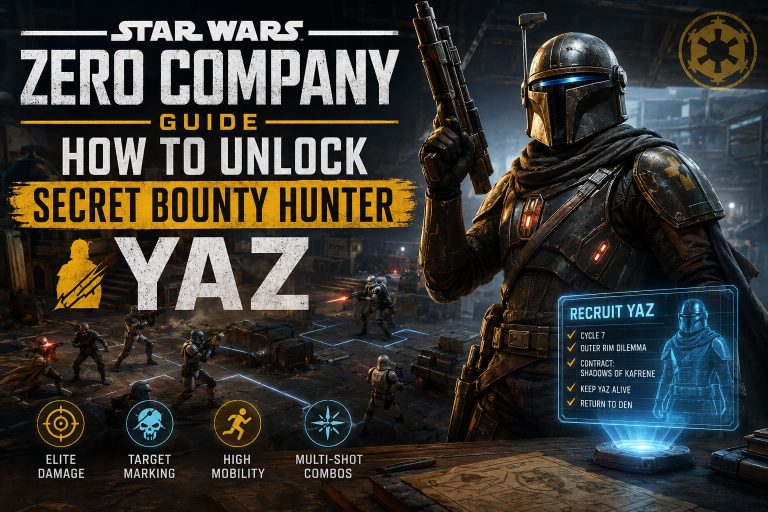
Customization is fairly extensive, with multiple Star Wars species available, including Humans, Twi’leks, Zabraks, Togruta, Devaronians, Neimoidians, Ovissians, and Weequays. You can customize appearances, outfits, voices, specializations, and talents.
But don’t get too attached.
Custom recruits and named companions can permanently die during the campaign. Hawks is the exception because of his central role in the story. If Hawks goes down during a mission, the operation fails, but he cannot simply disappear permanently from the campaign.
Everyone else is much more vulnerable.
Even when a character survives, injuries can have long-term consequences. Some wounds require treatment and resources rather than being magically removed after the mission.
This makes squad rotation extremely important.
Your backup operators aren’t disposable extras. They are your insurance policy.
The Den Is More Important Than It Looks
Between missions, Zero Company moves away from the tactical battlefield and gives you access to The Den, your headquarters located inside a hangar on the Ring of Kafrene.
The Den isn’t simply a menu disguised as a base. It acts as your strategic headquarters and gives the campaign a stronger sense of progression.
Here you can speak with crew members, discover optional mission opportunities, manage equipment, recruit operators, and prepare for future contracts.
Several facilities are especially important:
- Holotable: Select missions, examine the galactic map, and track campaign developments.
- Black Market: Spend credits on equipment and weapon modifications.
- Operator Barracks: Recruit characters, customize them, manage loadouts, and improve talents.
- Medical Bay and Droid Stations: Treat injured organic operators and repair damaged droids.
The Holotable is particularly important because your choices can influence different locations and factions across planets such as Dantooine, Lothal, Vandor, and Mapuzo.
So the campaign isn’t simply a chain of disconnected battles.
Your decisions in one part of the galaxy can influence what happens later.
How to Fix Star Wars Zero Company Black Screen on Launch (PC Troubleshooting Guide)
My Essential Beginner Tips
If you’re starting Star Wars Zero Company for the first time, these are the habits I would build immediately:
- Never assume an exposed enemy is an easy target. Check Defense, cover, and possible environmental kills before spending AP.
- Keep one AP available whenever possible. Being able to retreat into cover after attacking can save a character’s life.
- Check line of sight before moving. A seemingly perfect position is useless if your teammates cannot support you.
- Use explosives against defensive enemies. Don’t waste several ordinary attacks against a target whose Defense is reducing your damage.
- Look for ledges and environmental hazards. A well-placed Force Push can be more valuable than a full round of shooting.
- Rotate your roster. Injuries and permadeath mean you should always have trained replacements ready.
Star Wars Zero Company: How to Recruit and Customize Custom Operators
The Best Mindset for Zero Company
The biggest mistake I think new players can make is treating every battle like a race to eliminate enemies.
It isn’t.
The strongest turns will often involve setting up the next turn rather than maximizing the current one.
Maybe you don’t take the perfect shot because doing so would leave your Jedi exposed. Maybe you spend AP repositioning instead of attacking because you know an enemy reinforcement wave is coming. Maybe you save Advantage because you suspect a stronger opponent is about to appear.
That kind of restraint is what separates a good tactical player from someone who simply understands the controls.
And honestly, that is why Star Wars Zero Company has me interested. The combination of recognizable Star Wars abilities and serious tactical decision-making could make battles feel genuinely personal. When a four-person squad survives an encounter because you perfectly combined cover, Overwatch, Force abilities, environmental hazards, and coordinated attacks, the victory should feel earned.
For newcomers, my biggest recommendation is simple: slow down, study the battlefield, and think one turn ahead.
You don’t need to win every fight with overwhelming firepower.
Sometimes the smartest move is to take one shot, fall back into cover, let your Jedi control the battlefield, and wait for the enemy to make the mistake.
That’s where the real fun of tactical Star Wars begins.