GRIME 2 Temple of Hands Full Walkthrough and Known Demo Bug Fixes
Dive into GRIME 2’s Temple of Hands with this complete guide. Learn how to tackle bosses, unlock hidden Molds, and navigate Clover Bite’s surreal world like a pro.
If you’re stepping into the surreal, fleshy architecture of GRIME 2, the Temple of Hands is where you’ll really feel the game’s muscle. This area isn’t just a visual spectacle; it’s a true test of patience, reflexes, and creativity.
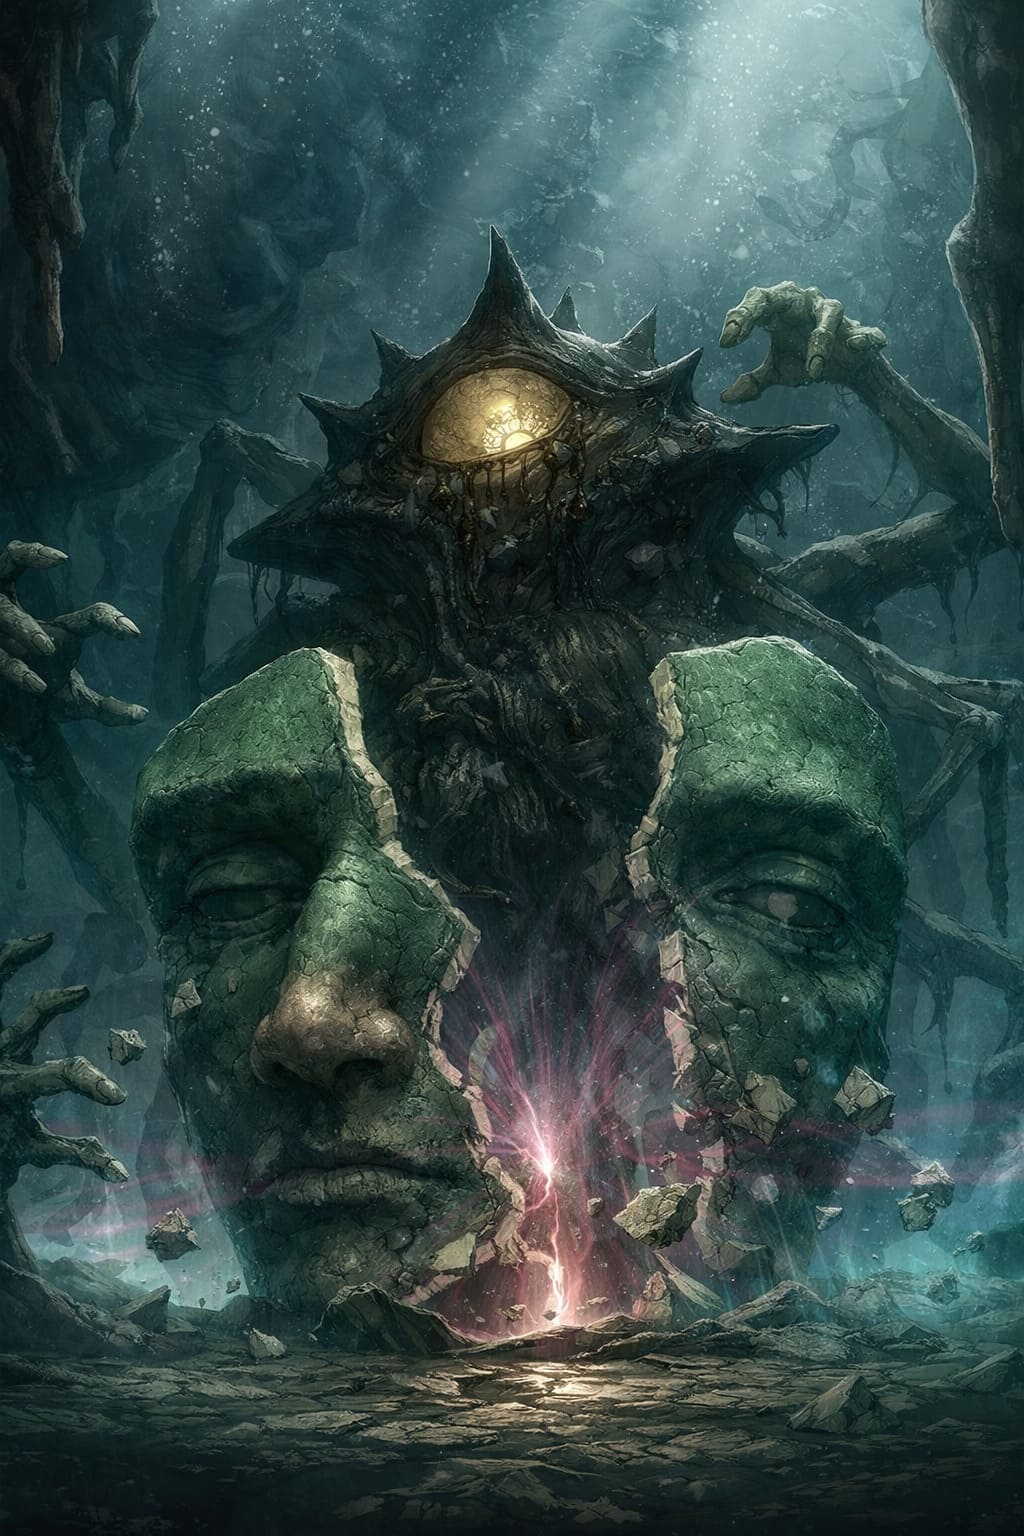
Unlike the first GRIME, where black hole parries dominated combat, the sequel gives your Formless new tools: the ability to absorb enemies and create Molds—a mechanic that transforms the way you fight and explore.
Here’s my take on navigating the Temple, avoiding unnecessary frustration, and crushing its brutal bosses.
Solasta 2 D&D 2024 Rules Guide: Ancestry, Races, and System Changes
1. First Steps: Entering the Temple of Hands
The Temple feels alive—everywhere you look are giant stone hands, some harmless, others lethal. Early on, the movement can feel sluggish, but stick with it; the game introduces dash-jumping and tendril grappling later, and those are life-changers.
Core mechanics to understand early:
- The Mold System: Absorbing enemies is more than a gimmick—it’s your ticket to summoning new forms. Each Mold can be offensive, defensive, or environmental.
- Environmental Interaction: Spikes, swinging traps, and hazardous zones aren’t just obstacles. Use them to your advantage by flicking enemies into them.
- Generous Parry: The sequel is more forgiving than the original. Parrying restores Force, which fuels your Mold abilities.
2. Exploring the Lower Sanctum
The first goal is to reach the initial Beacon. Expect some platforming and hidden nooks.
Key Points:
- Overgrown Barrier: This massive gate is blocked by organic growth. Look to the left for a hidden alcove with a Spore-Pod—throw your basic projectile at it to clear the path.
- Loot: Behind the barrier, you’ll find the Cracked Vessel, boosting your Mold capacity.
3. Mini-Boss: Overgrown Barrier
This encounter isn’t a full-blown boss but it’s a lesson in vertical combat.
Strategy:
- Smaller Hand-Sprouts are summoned. Use Item Pull or basic attacks to fling them into the main boss for extra damage.
- Defeating the core gives the Spore Mold, which leaves a damaging cloud—perfect for mid-fight control.
4. Vertical Challenges: The High Altars
After the mini-boss, platforming complexity ramps up. You’ll rely heavily on tendril grapples to reach new heights.
Secret Room Tip:
Look for walls that appear “unpainted.” Hitting them reveals hidden rooms with valuable loot, like the Maul Axe—slow but devastating against high-poise enemies.
5. Mid-Boss: Bound Shell
The Bound Shell is arguably the first real difficulty spike. It’s a damage sponge but fair if you know its patterns.
Phase 1 – Stationary Guard:
- Boss stays in its shell, occasionally lunging. Ground attacks to the hands yield higher damage.
- Parry when the shell glows orange to stun and expose the eye for critical hits.
Phase 2 – Unbound:
- At 50% HP, the shell breaks. Boss becomes aggressive and fast.
- Watch for the grab attack—it can’t be parried. Dodge toward the boss to get behind it.
- Tip: Deploy your Spore Mold in the center for constant damage while evading attacks.
6. Unlocking Item Pull
Defeating Bound Shell unlocks Item Pull, which is essential for reaching high or embedded items. This is where exploration opens up fully—you can backtrack to grab previously unreachable treasures.
| Item / Ability | Location | Requirement |
|---|---|---|
| Summoner’s Trait | High Altar (East Wing) | Defeat 3 Elite Hand-Knights |
| Shield Mold | Lower Catacombs | Absorb “Stone-Clutcher” enemy |
| Ancient Slab | Behind Bound Shell Arena | Requires Item Pull |
7. Build Suggestions
GRIME 2 rewards creative builds. Here are two approaches I found super fun:
- Mage Build: Max Force regeneration. Keep two Molds active constantly—let your summons do the heavy lifting.
- Brawler Build: Prioritize health and parry traits. The Maul Axe becomes a wrecking tool, perfect for aggressive play.
8. Pro Tips and Key Takeaways
- Molds are central: Don’t ignore them—they’re your main combat multiplier.
- Parry for Force: Dodging is nice, but parries fuel your abilities faster.
- Backtrack: Item Pull opens access to hidden upgrades—always revisit old rooms.
- Movement upgrades: Once dash-jumping and tendril grappling unlock, everything gets faster and more fluid.
The Temple of Hands in GRIME 2 is one of those zones that will test patience and reward curiosity. Whether you’re farming Molds, hunting elite enemies, or just soaking in Clover Bite’s surreal world, there’s a lot to uncover—and it’s incredibly satisfying when you finally master it.
GRIME 2 Demo Survival Guide: Fixing Crashes, Controller Hiccups, and Stuttered Combat
If you’ve been eagerly diving back into the haunting world of Formless with the GRIME 2 demo, you might have noticed that, while gorgeous and thrilling, this early build isn’t exactly a smooth ride. Between stuttering during dashes, controllers refusing to cooperate, and occasional crashes that make you scream at the screen, there’s a lot to navigate.
I’ve spent some hours tinkering, testing community fixes, and trying out developer workarounds, and here’s a distilled guide to get your demo running as it should—so you can focus on killing molds, not wrestling your setup.
1. Controller Troubles and Gamepad Fixes
First off, let’s talk controllers. Xbox, PlayStation, and even some generic gamepads sometimes refuse to be recognized, or worse, the UI locks you into one spot. Here’s what works:
Quick Fixes:
- Double Navigation Bug: Ever select something in your inventory and suddenly can’t scroll left? Scroll down to your secondary weapon slot first. Weird, yes, but it resets the cursor path.
- Steam Input Magic:
- Right-click the GRIME 2 demo in Steam.
- Go to Properties > Controller.
- Toggle between “Enable Steam Input” and “Disable Steam Input” until your controller responds.
- Big Picture Mode: Launching through Steam Big Picture Mode often resolves stubborn PS5 DualSense or generic pad issues.
- D-Pad Caution: Avoid rebinding actions between your D-Pad and left stick for now. It can make the map zoom uncontrollably or break UI scrolling. Stick with default movement settings.
Personal note: I know it’s annoying, but these workarounds feel like little life hacks. The first time it worked for me, I literally cheered at my monitor.
2. Stutter-Free Combat: Tips for Smooth Gameplay
GRIME 2’s movement should feel fluid, but engine quirks can cause micro-freezes when dashing or jumping. Here’s how to deal with it:
Smooth Gameplay Checklist:
- Cap Your FPS: 60 FPS is usually the sweet spot. High-refresh monitors can actually mess with internal timing, so a frame cap often solves invisible stutter.
- Graphics Reload Trick: Switch to Low preset, save, then switch back. This forces the engine to re-cache assets—sort of like giving your game a little coffee.
- V-Sync Drama: Disable in-game V-Sync. Instead, let NVIDIA G-Sync or AMD FreeSync handle screen tearing. Input lag drops noticeably.
Pro Tip: Even if your rig seems more than capable, these tweaks help stabilize the experience—especially in combat-heavy rooms.
3. Avoiding Crashes and Black Screens
Nothing kills immersion faster than a crash five minutes into a session. The demo seems sensitive to drivers and hardware conflicts.
Crash-Prevention Steps:
| Problem | Solution | Notes |
|---|---|---|
| Random crashes | Roll back GPU drivers to a stable late-2025 version (e.g., NVIDIA v546.65) | Latest “Game Ready” drivers can be buggy |
| Black screens | Turn off Ray Traced Transparent Reflections | Specific setting known for freezes |
| Corrupted demo files | Steam: Right-click > Installed Files > Verify integrity | Fixes download or patch corruption |
My experience: Turning off ray tracing alone made my game go from unplayable black screens to buttery-smooth visuals.
4. Gameplay Oddities & Intended Mechanics
Some quirks feel like bugs but are actually part of the demo design. Understanding these keeps frustration low.
- Starting Half-Health: You begin at 50% intentionally. It’s the developers teaching you the new healing system.
- Aggressive Ledge Grab: If you “zip” onto walls, try delaying jumps or using the dash-jump combo. Precision improves with practice.
- Trait Text Errors: Seeing “2% shards” instead of “2 shards”? Ignore it. It doesn’t affect drop rates.
Honestly, these small mechanics tweaks are surprisingly fun once you adapt. It makes GRIME 2 feel alive and challenging without being unfair.
5. Minimum System Requirements
Before blaming bugs, check if your system can handle the demo.
- OS: Windows 10/11 64-bit
- GPU: NVIDIA GTX 960 / AMD R9 380 or better
- DirectX: Version 11 or 12 (DX11 is more stable for the demo)
Save File Note: Saves from the original demo won’t transfer to the updated February 2026 demo. But the updated demo is designed to carry over to the full release.
Final Thoughts
The GRIME 2 demo is a beautiful, challenging playground, but early builds come with quirks. Fixing controller issues, capping FPS, and tweaking graphics settings can transform a frustrating experience into something addictive. Patience is key—once your setup runs smoothly, exploring the new “Molds” system and stamina mechanics feels incredibly satisfying.
For anyone excited about the full release, this demo is worth enduring a few hiccups. And hey, nothing beats the joy of finally pulling off a perfect dash-jump combo without the game freezing mid-air.