Forsaken Realms Vahrins Call Rare Crafting Materials Farming Guide
When I first started playing Forsaken Realms: Vahrin’s Call, I made the same mistake that many RPG players do—I focused almost entirely on combat. I kept replacing weapons, upgrading armor whenever possible, and assumed stronger enemies would naturally drop everything I needed.
That couldn’t have been further from the truth.
After several dozen hours exploring Leyda, experimenting with different builds, and replaying some areas simply because I enjoyed them, I realized that crafting is what truly defines your progression. Since the game doesn’t lock you into traditional classes, your equipment and crafted gear become your real character progression. Finding rare crafting materials isn’t just a side activity—it’s one of the biggest advantages you can give yourself.
If you’re tired of endlessly wandering the map hoping rare resources magically appear, these are the farming habits that consistently worked for me.
Why Rare Materials Matter More Than New Weapons
One thing I genuinely appreciate about Vahrin’s Call is that powerful equipment isn’t simply handed out through boss fights.
Instead, the game constantly rewards players who invest time into crafting.
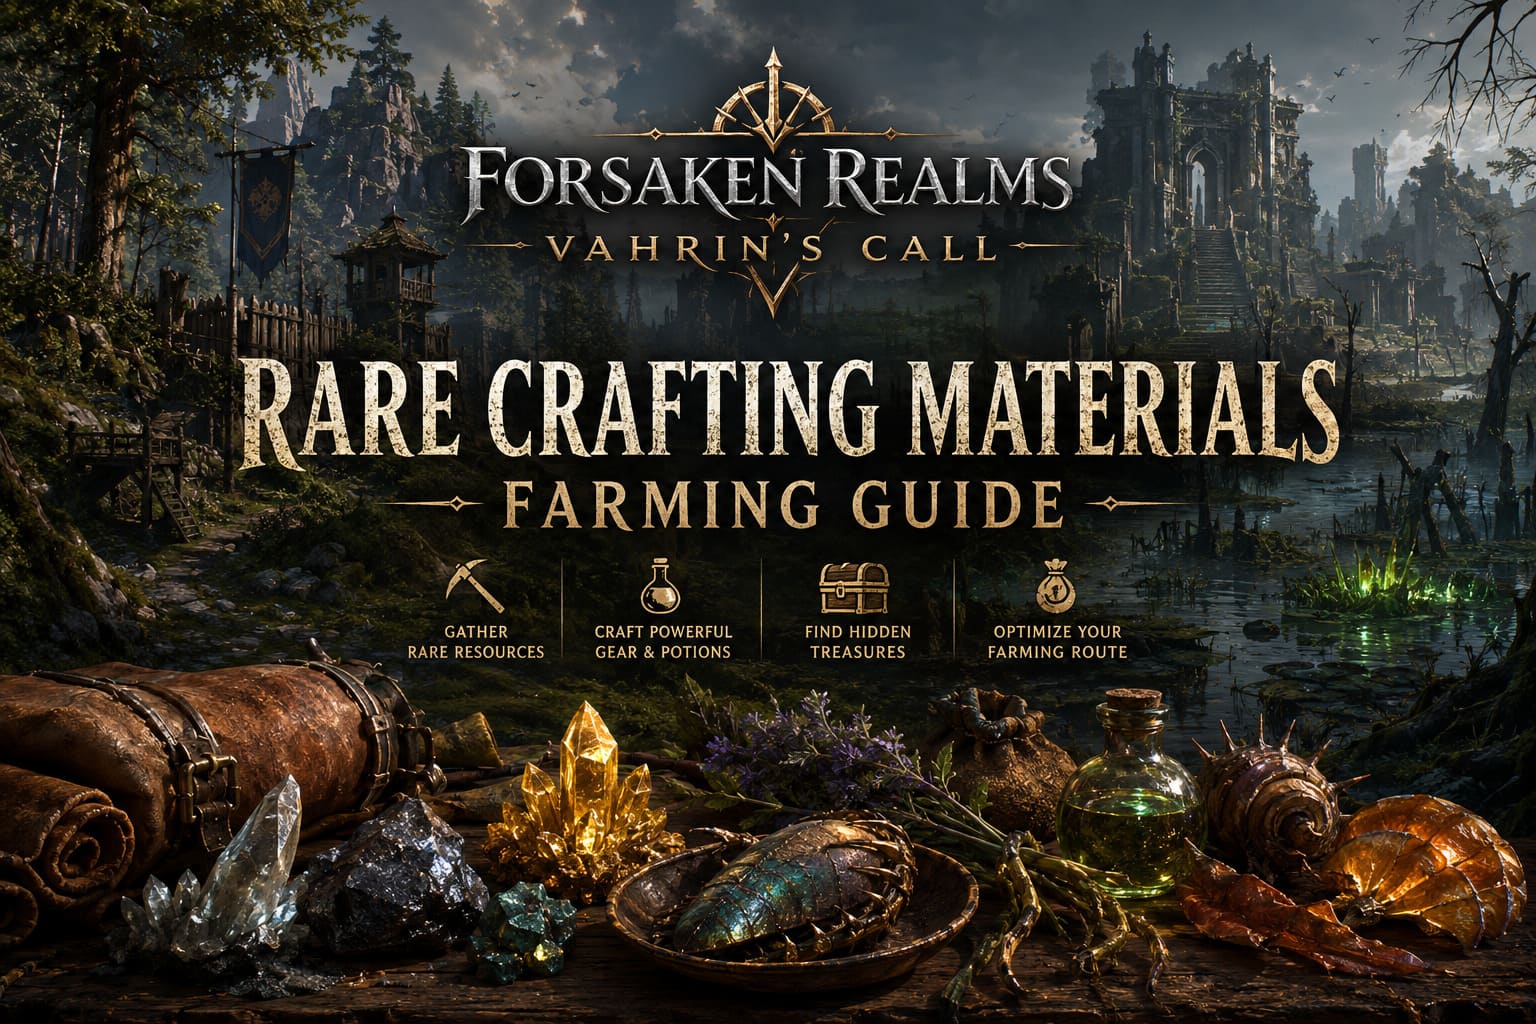
Rare materials allow you to create:
- High-tier armor upgrades
- Powerful elemental ammunition
- Advanced alchemy mixtures
- Deadly traps
- Improved weapon enhancements
- Specialized utility equipment
Rather than chasing random loot drops, crafting gives you control over your build, which feels much more rewarding.
Learn How Resource Gathering Actually Works
Unlike many RPGs where gathering stays the same from beginning to end, resource collection evolves alongside your character.
The more you gather and invest in related perks, the more efficient farming becomes.
Eventually you’ll notice improvements like:
- Faster harvesting speed
- Better resource yield
- Higher chances for uncommon materials
- More efficient exploration loops
Because progression is tied to equipment instead of fixed classes, switching your gear can completely change how effective your gathering sessions become.
One small detail that I almost overlooked early on is the visual indicator for valuable resources.
Common nodes usually stand out with a soft white glow.
Rare crafting materials, however, emit a much brighter golden shimmer that’s surprisingly easy to recognize once you know what to look for.
Whenever I see that golden sparkle, I immediately stop whatever I’m doing.
It has paid off far more often than ignoring it.
My Favorite Early Farming Area
Barathrum Forest
Many players leave Barathrum behind as soon as possible.
Personally, I think that’s a mistake.
The forest is filled mostly with common resources, but the edges near the guarded garrison contain some surprisingly worthwhile loot.
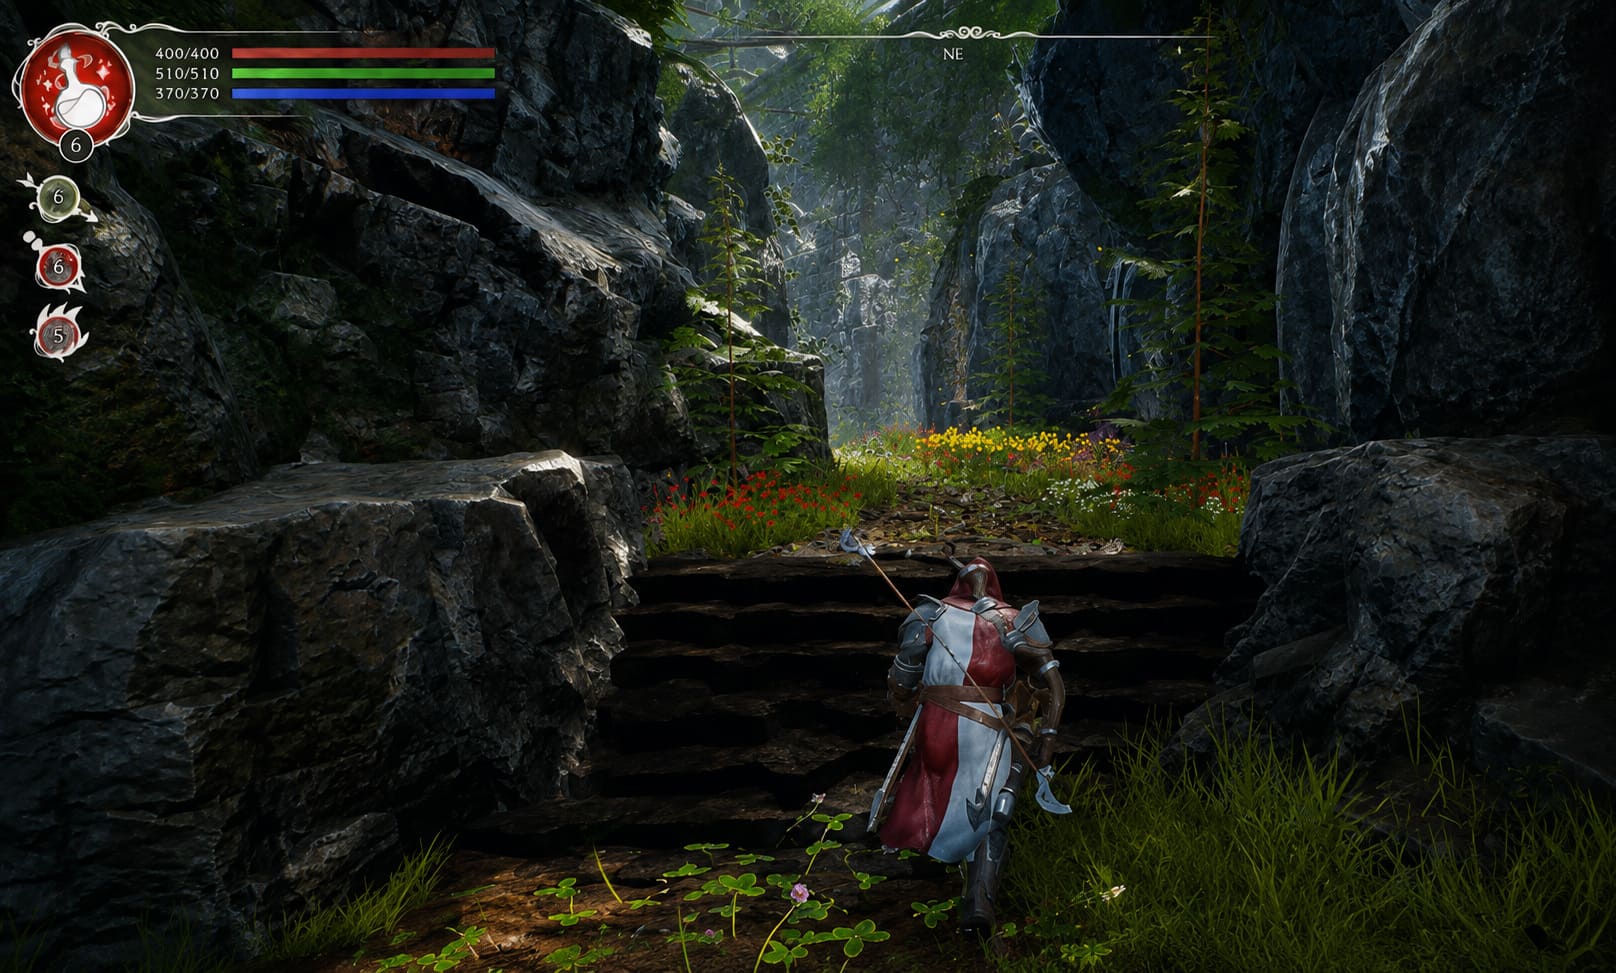
I usually search around:
- Cliff edges
- Hidden side paths
- Locked wooden chests
- Small ruined camps
These locations regularly provide:
| Resource | Typical Use |
|---|---|
| Rare Alchemy Ingredients | Potion crafting |
| Mineral Shards | Weapon upgrades |
| Refined Wood | Advanced bows |
| Craft Components | Utility gear |
It’s also a relatively safe area compared to later regions, making it excellent for repeated farming runs.
East Vale Marshlands Are Worth Every Risk
If I had to recommend only one mid-game farming location, it would easily be the East Vale Marshlands.
Yes, it’s dangerous.
Yes, you’ll probably get poisoned several times.
But the rewards completely justify the effort.
The elite swamp creatures here frequently drop materials that become essential much later in the game.
Some of the best finds include:
- Hardened leather
- Toxic stingers
- Rare insect shells
- Reinforced carapaces
- Reactive swamp plants
Those underwater glowing plants are especially important.
They’re easy to miss because you’re usually focused on surviving enemy attacks, but they’re among the better alchemy ingredients available before reaching the late-game regions.
Temple Path Is Basically a Treasure Hunt
The Temple Path feels different from most locations.
Instead of simply farming monsters, you’re constantly rewarded for exploring every corner.
Whenever I clear this area, I never rush toward the objective.

Instead, I check:
- Broken altars
- Hidden alcoves
- Destroyed walls
- Narrow side passages
- Forgotten treasure rooms
Many of the rarest crafting pieces I’ve found came from chests hidden behind seemingly decorative ruins.
The enemies here can be overwhelming in groups, so clearing the area before opening treasure containers is usually the safer approach.
The Build I Prefer for Farming Sessions
Combat efficiency is important.
Travel speed is even more important.
Whenever I’m gathering materials instead of progressing the story, I usually prioritize mobility over raw damage.
Here’s the setup I find the most comfortable.
| Priority | Why It Helps |
|---|---|
| Movement Speed | Covers more gathering routes |
| Inventory Capacity | Fewer trips back to town |
| Light Armor | Faster sprinting |
| Bow Build | Safe ranged eliminations |
| Ice or Earth Magic | Excellent crowd control |
Heavy armor certainly has its place during difficult encounters, but wearing it while farming always makes exploration feel noticeably slower.
The difference becomes obvious after an hour of gathering.
Don’t Ignore the Merchants
One habit I picked up surprisingly late was checking vendors every single time I returned to town.
At first I assumed merchants only existed for selling junk.
That assumption cost me hours.
Their inventories rotate regularly, and occasionally they stock materials that would otherwise require lengthy farming sessions.
I’ve purchased things like:
- Refined leather
- Processed ore
- Rare herbs
- Alchemy ingredients
- Specialty crafting supplies
If you’ve been completing bounty contracts consistently, spending some of that accumulated gold can actually save a tremendous amount of time.
Sometimes buying three missing ingredients is simply smarter than spending another forty minutes searching random spawn locations.
My Personal Farming Loop
After experimenting with different routes, this became my favorite cycle.
- Start in Barathrum Forest and collect every nearby chest.
- Travel toward East Vale while harvesting visible resource nodes.
- Defeat elite swamp enemies.
- Collect underwater plants.
- Head back to town.
- Check every merchant inventory.
- Store crafting materials.
- Repeat after vendor inventories refresh.
It isn’t the fastest route mathematically, but it keeps gameplay varied enough that farming rarely becomes boring.
Small Tricks That Saved Me Countless Resources
There are several habits I’ve developed that make every farming run much smoother.
- Always save before entering dangerous areas. Losing twenty minutes of collected materials because of an unexpected elite encounter is incredibly frustrating.
- Clear enemies before harvesting. Gathering animations leave your character exposed, so eliminate nearby threats first.
- Carry status recovery potions. Poison and burning effects become much more common later in the game, making cleansing potions invaluable.
- Watch your inventory weight. Leave town with enough free space to avoid missing valuable resources during long farming sessions.
What Makes Vahrin’s Call’s Crafting System So Enjoyable?
One reason I’ve continued enjoying the crafting system is that it never feels disconnected from exploration.
Every abandoned ruin, hidden cave, forgotten chest, or dangerous swamp has the potential to reward careful players.
Instead of simply increasing enemy levels, the game encourages curiosity.
That design philosophy reminds me of older RPGs where exploration mattered just as much as combat.
I honestly found myself slowing down and examining environments much more carefully after realizing how many rare materials were hidden in places I had previously sprinted past.
Forsaken Realms Vahrin’s Call: Magic and Alchemy Synergy Guide
Final Thoughts
If there’s one lesson I’ve learned after spending so much time exploring Forsaken Realms: Vahrin’s Call, it’s this: the strongest players aren’t necessarily the ones with the biggest weapons—they’re the ones who understand the crafting economy.
Rare materials are the foundation of nearly every powerful build in the game. Learning efficient gathering routes, investing in mobility-focused perks, checking merchants regularly, and paying attention to hidden environmental details will consistently reward you far more than simply grinding stronger enemies.
Personally, I still find myself returning to Barathrum Forest, East Vale Marshlands, and the Temple Path even after unlocking tougher regions. They remain some of the most satisfying places to farm because every trip feels like a mix of exploration, combat, and treasure hunting rather than repetitive grinding.
If you’re aiming to build the ultimate mercenary, don’t rush through Leyda. Slow down, search every ruined corner, keep an eye out for that unmistakable golden glow, and let your crafting materials shape your adventure. In my experience, that’s where Vahrin’s Call is at its very best.